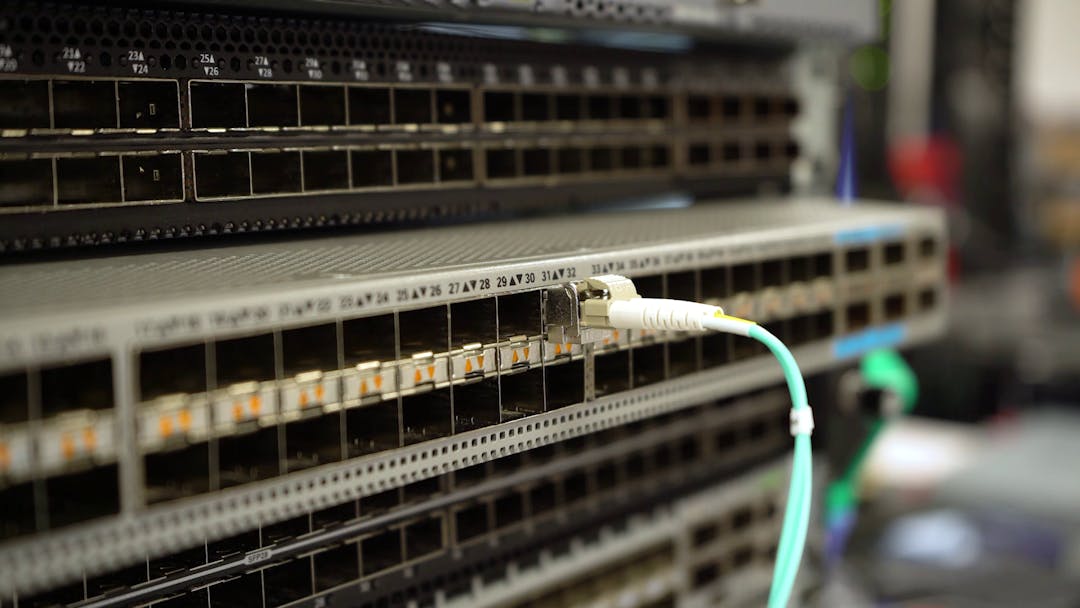
As pluggable port modules, transceivers are very easy to install and remove from network elements including switches, routers and other network appliances. However, there are a couple things to keep in mind while performing these simple actions to make sure you’ve got all the right steps.
Watch the video to see every step:
Transceiver Installation Guide:
- Ensure that the form factor of the transceiver is compatible with the port on the network equipment.
- Locate the top of the module using the bail or the TX and the RX markings.
- Carefully slide the transceiver into the port until there is a slight click sound, which is the locking mechanism.
- Remove the dust plug from the transceiver if it hasn't been removed already.
- Attach the appropriate fiber patch cable.
Transceiver Removal Guide:
- Disconnect any cable that is attached to the transceiver.
- Insert a clean dust plug into the transceiver if you can prior to removal. If not, do so immediately after removal.
- Pull down on the bail lever on the transceiver to unlock the transceiver from the network equipment.
- Carefully slide the transceiver out of the port.
If you enjoyed this, please make sure to subscribe to the ProLabs YouTube channel!
